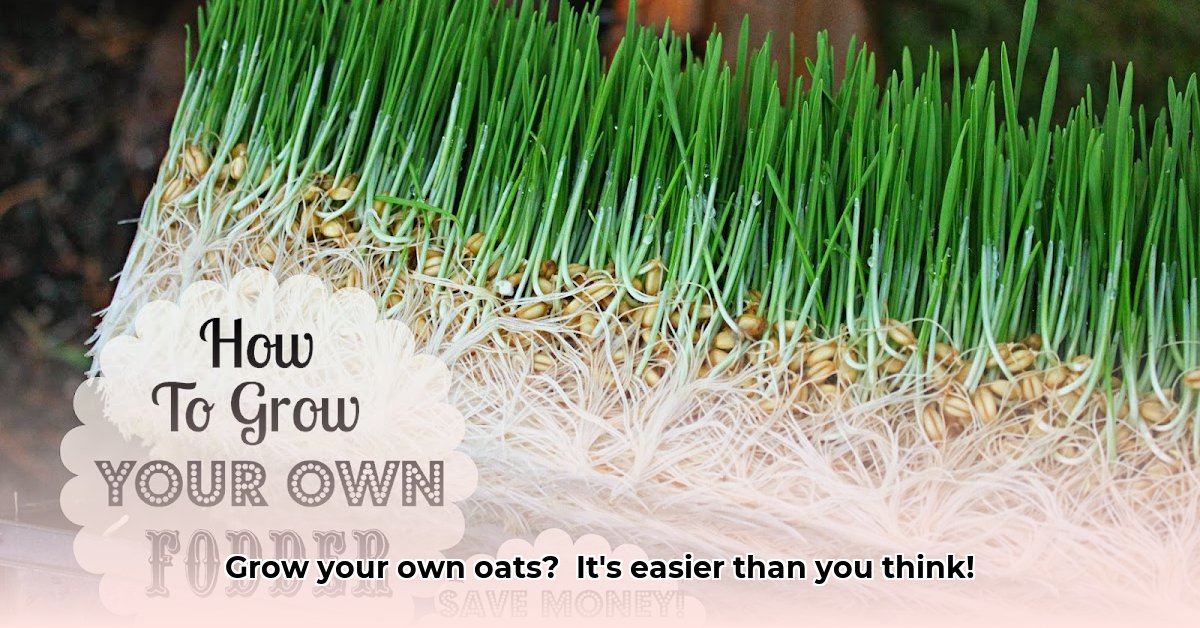
Can You Plant Whole Oats from Tractor Supply? A Comprehensive Guide
So, you're ready to embark on the rewarding journey of growing your own oats using seeds from Tractor Supply? Absolutely! While simply tossing seeds into the ground might seem straightforward, a bountiful harvest requires planning and understanding. This comprehensive guide, designed for both beginners and experienced cultivators, will equip you with the knowledge and steps for a successful and sustainable oat crop. For more information on Tractor Supply's forage oats, check out this helpful resource.
Getting Started: Planning Your Oat Adventure
Before planting, thorough planning is crucial. Just as you wouldn't embark on a road trip without a map, successful oat cultivation demands preparation. First, research the oat variety best suited to your location. Tractor Supply offers various options, but each variety's suitability differs based on factors like climate and pest resistance. Your local agricultural extension office is an invaluable resource; they can guide you towards varieties thriving in your area and provide crucial information about planting time and other specifics. Additionally, carefully examine the seed packets for details about plant height, maturation time, and potential pest susceptibility.
Don't forget the soil! A soil test will reveal its pH and nutrient content, informing any necessary amendments before planting. Oats thrive in well-drained soil, so select a sunny location with excellent drainage. This foundational step ensures your oats have the optimal environment for growth. Isn't it amazing how much planning goes into a seemingly simple process?
Picking the Perfect Oats: Variety is Key
Selecting the right oat variety is paramount for a successful harvest. Tractor Supply likely stocks several types, each with unique characteristics. Consider these vital factors:
- Climate: Choose a variety suited to your local climate. Seed packets indicate recommended growing zones.
- Yield: If maximizing your harvest is a priority, opt for high-yield varieties.
- Pest and Disease Resistance: Selecting varieties known for their resistance minimizes the risk of pest and disease problems, leading to healthier plants and a better yield.
- Maturity Date: Ensure the oats have sufficient time to mature before the first frost, aligning your selection with your local growing season.
Remember, the seed packet is your comprehensive guide; the details provided are invaluable in selecting the best oat variety to meet your goals and local environment.
Planting Your Oats: A Step-by-Step Guide
Now comes the practical part – planting! Here's a step-by-step guide to ensure a successful start:
- Seed Prep (Optional): Soaking oats overnight may boost germination rates, but it's not mandatory. Follow any seed packet instructions for optimal results.
- Planting Depth: Plant seeds 1-2 inches deep. Shallower planting ensures adequate sunlight for germination.
- Seed Spacing: Space seeds approximately 4-6 inches apart to prevent overcrowding and promote healthy growth. This spacing allows each plant to receive enough sunlight, water, and nutrients.
- Planting Time: Your chosen oat variety's seed packet specifies the ideal planting time based on your climate. Adhering to this timeline is crucial for success.
- Watering: Water thoroughly after planting and maintain consistently moist soil. Avoid overwatering, which can lead to seed rot.
Nurturing Your Oats: From Seedling to Harvest
Your work doesn't end with planting. Consistent care is essential throughout the growing cycle:
- Weed Control: Regularly remove weeds to prevent competition for nutrients and water. Hand-weeding or mulching are both effective methods.
- Fertilizing: Oats aren't heavy feeders. Using compost or other organic fertilizers boosts growth sustainably. Avoid excessive nitrogen, which can negatively influence grain quality and disease resistance.
- Pest and Disease Monitoring: Regularly inspect your crop for pests or diseases. Early detection is key to successful management. Employ integrated pest management (IPM) techniques, minimizing pesticide use while prioritizing prevention and employing less-toxic control options.
Harvesting Time!
Harvest your oats when the oat heads turn golden brown and the seeds feel firm. Cut the stalks, allowing them to dry thoroughly before threshing (separating the grain from the chaff). Proper drying prevents spoilage and preserves the quality of your oat harvest.
Sustainability Considerations: Farming for the Future
Sustainable practices are key to both long-term success and environmental responsibility. Prioritize these:
- Crop Rotation: Rotating oat crops with other plants improves soil health and minimizes pest and disease buildup.
- Water Conservation: Employ water-efficient irrigation like drip irrigation to conserve this vital resource.
- Minimizing Pesticides: Prioritize preventative measures and only use pesticides as a last resort, choosing less toxic options if needed.
Weighing the Pros and Cons: Tractor Supply Oats
Using Tractor Supply oats offers both advantages and disadvantages:
| Advantages | Disadvantages |
|---|---|
| Convenient access and affordability | Limited readily available information on specific varieties |
| Wide selection of oat types available | Uncertainty regarding organic certification practices |
| Easy to find in most locations | May require further research for best results |
The Final Word: Your Oat Growing Journey
Growing oats from Tractor Supply seeds is a rewarding endeavor, but success relies on careful planning and informed choices. Local agricultural resources and your Tractor Supply staff provide valuable advice tailored to your specific needs and conditions. Happy growing!